A step-by-step guide to install your NVMe M.2 SSD
Easiest way to install a NVMe M.2 SSD is to remove the GPU from your PC. Most of the motherboard vendors have set the location of the M.2 port
close to the upper PCIe-channel, so this step is required to make the install nice and easy.
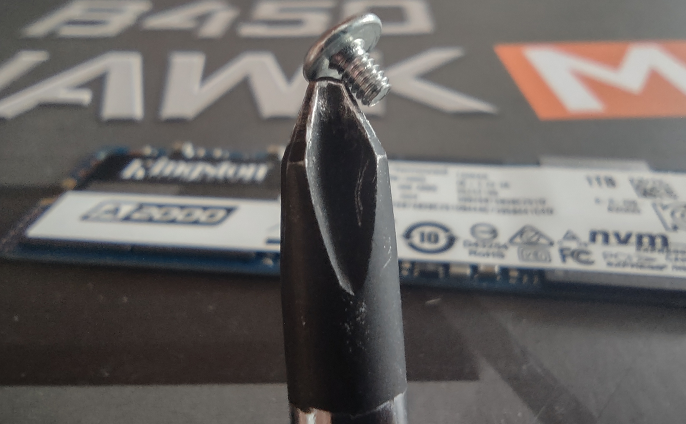
You will need a special screwdriver as most of the + -headed ones are dull or just not pointy enough. Proper tools will ensure the safe installation
of the M.2 SSD but I also collected some tips which can be found in the end of this guide.
Gather all necessary equipment and do not hassle. The last thing you want is your M.2 skrew gone missing. Like between your floor and wall or something.
Adviced tools:
A small + -headed screwdriver
M.2 mounting kit (the screw and standoff)
Extra skills:
Step one
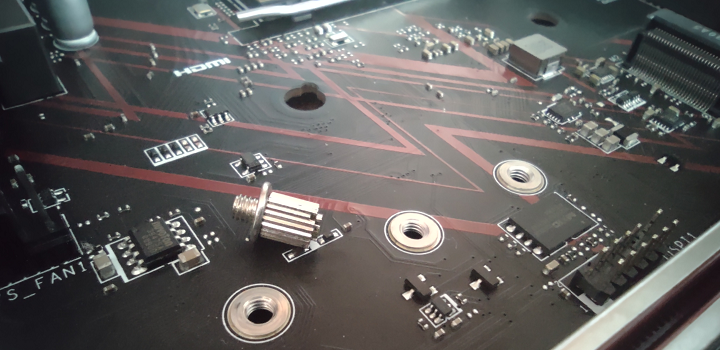
Install the standoff. The corresponding spot can be found out by placing the M.2 SSD near the M.2 spot.
Step #2
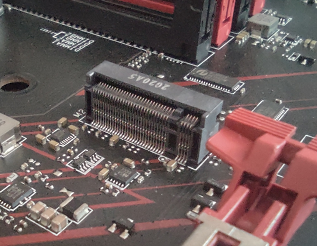
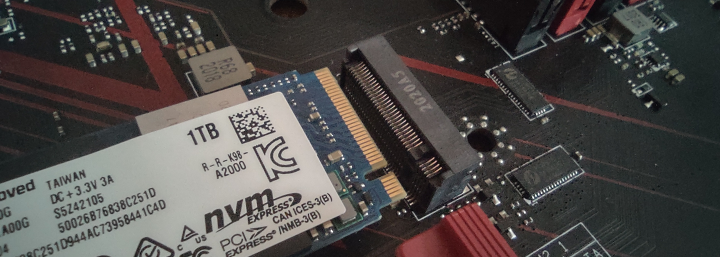
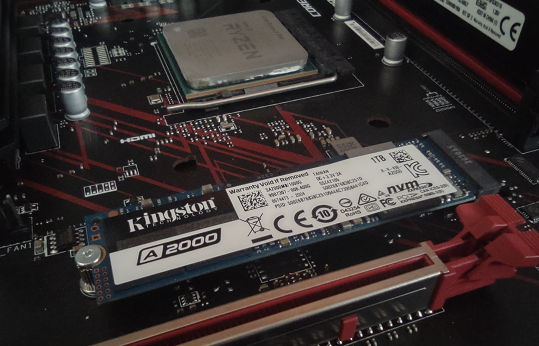
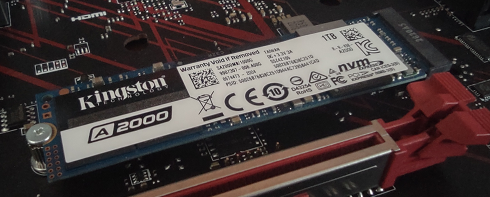
Install the M.2 SSD in the socket. As seen from the images, there is only one way to do so.
Step #3
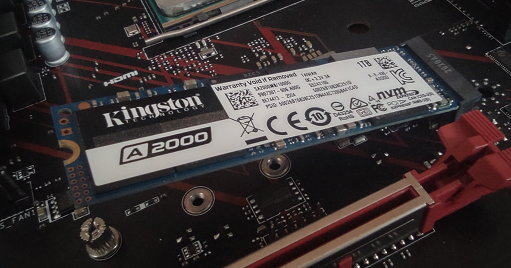
Push the M.2 SSD into the socket. You will see when it is gone deep enough, by pushing it against the motherboard: the screw hole fits aswell.
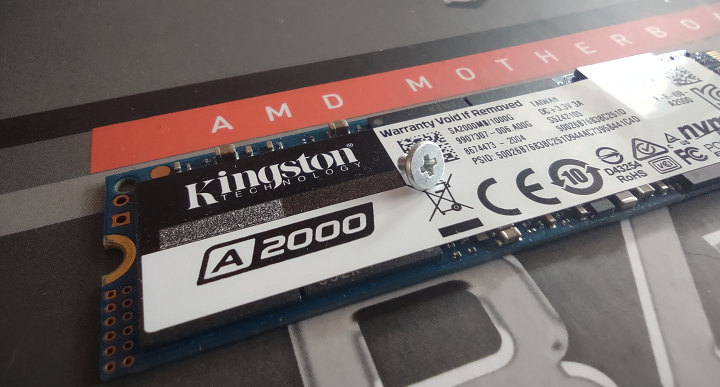
Step #6
Use the small screwdriver to install the small screw. Just do not overtighten it.
Good to know..
The NVMe stands for Non-Volatile Memory Express.
The numbers after M.2 (2280) stands for the size of the M.2 SSD
It is not required to actually have the M.2 installed with a screw, Windows will load even if the SSD is in a 45 degree angle.
Do not remove the sticker on the M.2 SSD. You will lose your warranty doing so.
If you can not find a proper screwdriver, use a needle or a kitchen knife.